How I Make Cyanotypes

The cyanotype is a very early photographic process invented by Sir John Herschel in 1842. The Herschels were an illustrious family. Sir John’s father was Sir William Herschel, first president of the Royal Astronomical Society and discoverer of the planet Uranus in 1781. As well as contributing to the early development of photography, Sir John also carried on his father’s astronomical work and was himself President of the Royal Astronomical Society on three occasions. John’s Aunt (William’s younger sister) was Caroline Herschel who also became an accomplished astronomical observer and discovered many new comets.
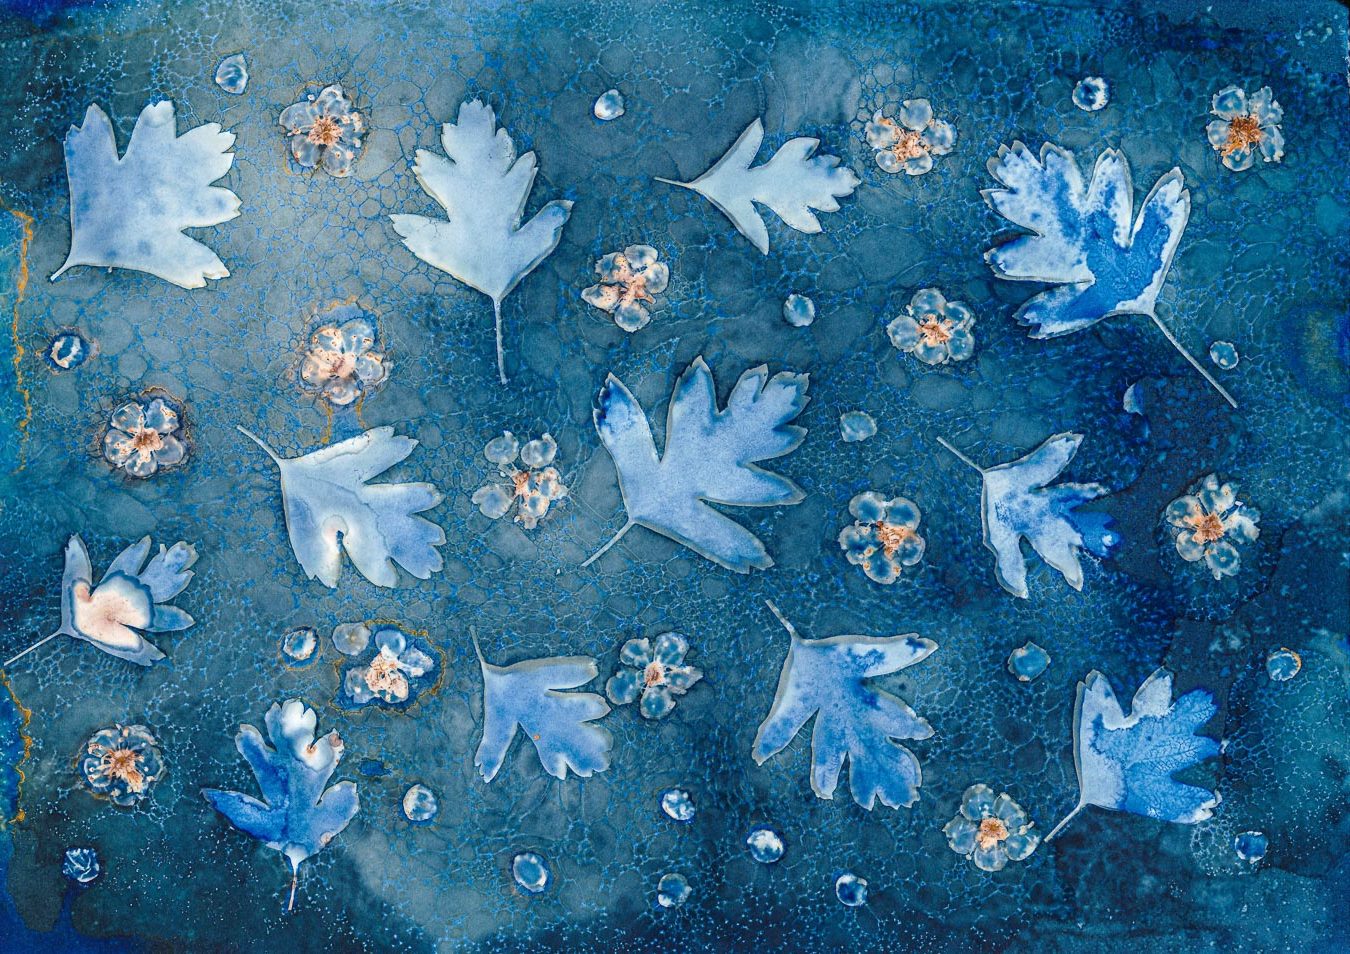
The cyanotype method is quite simple in principle; two chemicals (Potassium Ferricyanide and Ferric Ammonium Citrate), when mixed together become sensitive to UV light. A sheet of paper is coated with the mixture and the objects to be photographed placed on top, usually held in place by a sheet of glass. This is then exposed to UV light from the sun which causes a chemical reaction to take place in which the blue dye Ferric Ferrocyanide is produced. After washing in water, the exposed parts of the paper are seen to become a rich prussian blue. Those parts of the paper underneath the objects are shadowed from the UV rays and show as white and/or a paler blue. More recently, a modified method has been developed called the Wet Cyanotype process. This involves adding various liquids and powders to the coated paper before exposure to the sun with the intention of creating interesting textures and colour changes in the final image. The most effective of these modifiers I have found to be soap bubbles and vinegar. Others include salt, turmeric and lemon juice. What follows is not meant to be an encyclopaedic description of every aspect of making cyanotypes, rather a summary of what I have learned so far.
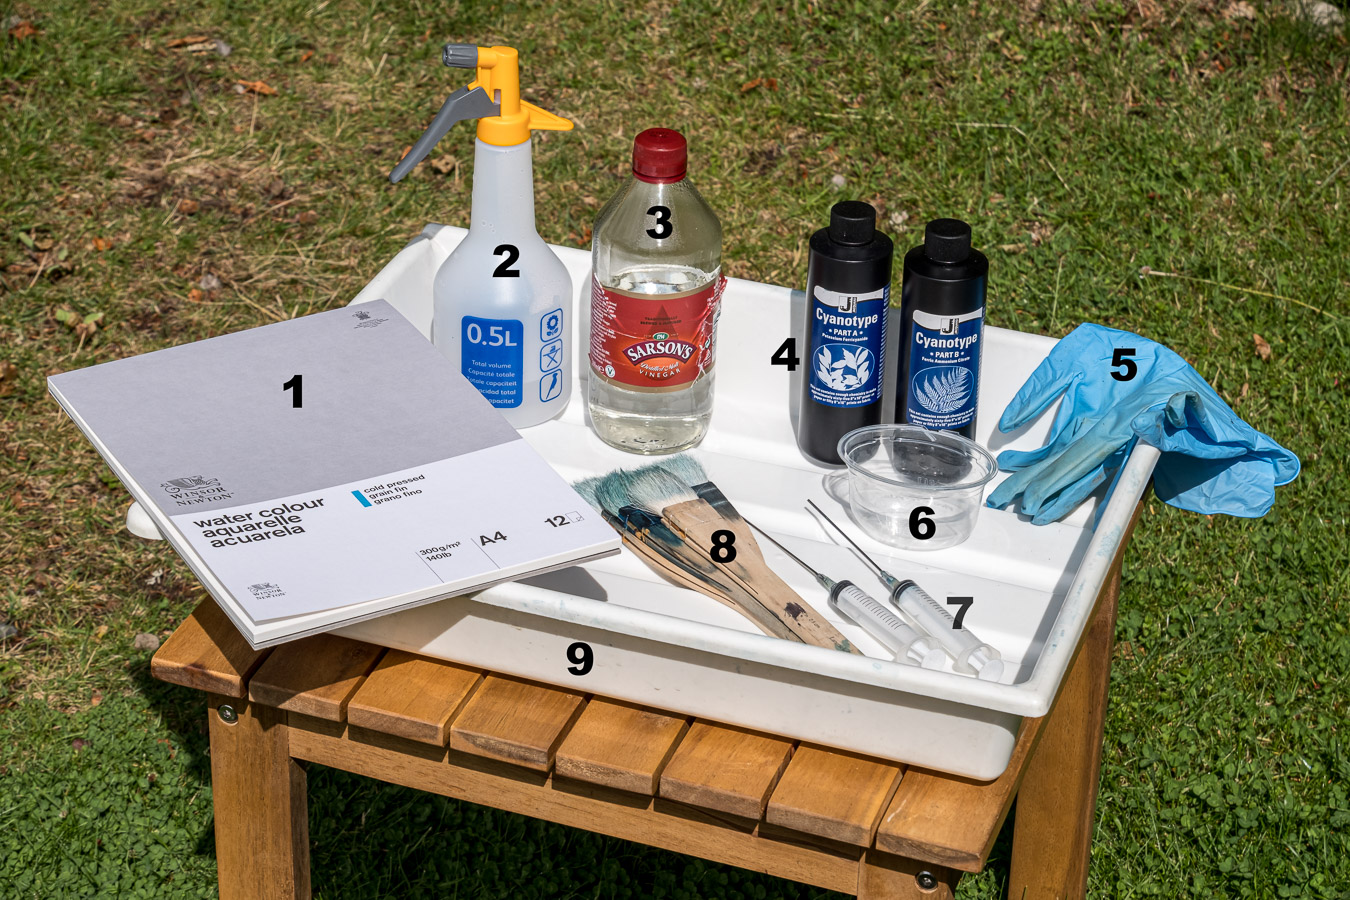
To get started, you will need the following materials:

- Watercolour paper
- Garden spray
- Distilled white vinegar
- Cyanotype chemicals
- Protective gloves
- Container for mixing chemicals
- Syringes for measuring chemicals
- Brushes
- Tray(s) for making soap bubbles and washing final print
1. Reasonably good quality artist’s watercolour paper such as that supplied by Windsor and Newton or Daler Rowney and others. I usually get mine from Hobbycraft, but any supplier of artist’s materials will stock something suitable. So far I have worked with A4 sheets exclusively, as this provides enough space for working on and I can scan the final results on my home multifunction printer/copier/scanner.
2. A garden spray bottle for adding vinegar. I find these from Hozelock give a good even spray but anything similar may work just as well.
3. Distilled white vinegar.
4. The two cyanotype chemicals Potassium Ferricyanide and Ferric Ammonium Citrate. For convenience, I use the kit supplied by Jacquard, available here. Each kit is sufficent for 60-70 A4 prints. If you plan on doing lots of large prints or coating fabrics for example, it will be cheaper to buy the raw chemicals, available here.
5. Protective gloves.
6. A container for mixing the chemicals. I use an old yoghurt pot.
7. A couple of syringes or other means of measuring equal volumes of the two chemicals.
8. A brush or brushes for applying the chemical mixture to the paper. Japanese Hake brushes are often recommended for this, available here.
9. Plastic tray(s) for producing soap bubbles and washing the final print. I bought a set of three used Paterson developing trays from eBay for about £15.
10. One or more old picture frames for holding the paper and objects in place during the exposure. Clip frames are cheap and widely available. The frame should be slightly larger than the size of paper you intend to use to allow space around the edge for placing the clamps. I covered the edges of the glass with electrical tape to prevent sharp edges.
11. Four clamps per frame for holding everything in place during the exposure. I got mine from Amazon here. Instead of using a sheet of glass, objects can also be held in place using a sheet of clingfilm which can impart an interesting texture of it’s own to the final image.
The process I use goes as follows:
1. Mix equal volumes of the two cyanotype chemicals together sufficient to coat one or two sheets of A4 paper. Coverage depends on the absorbancy of the paper you are using; I find that about 2ml of each solution is more than sufficient to cover one A4 sheet. I do this in a shady part of my garage, out of direct sunlight, as once combined the chemicals become sensitive to light. Complete darkness however is not required. Wear protective gloves and a protective apron or old clothes as the chemicals stain and can be hard to remove.
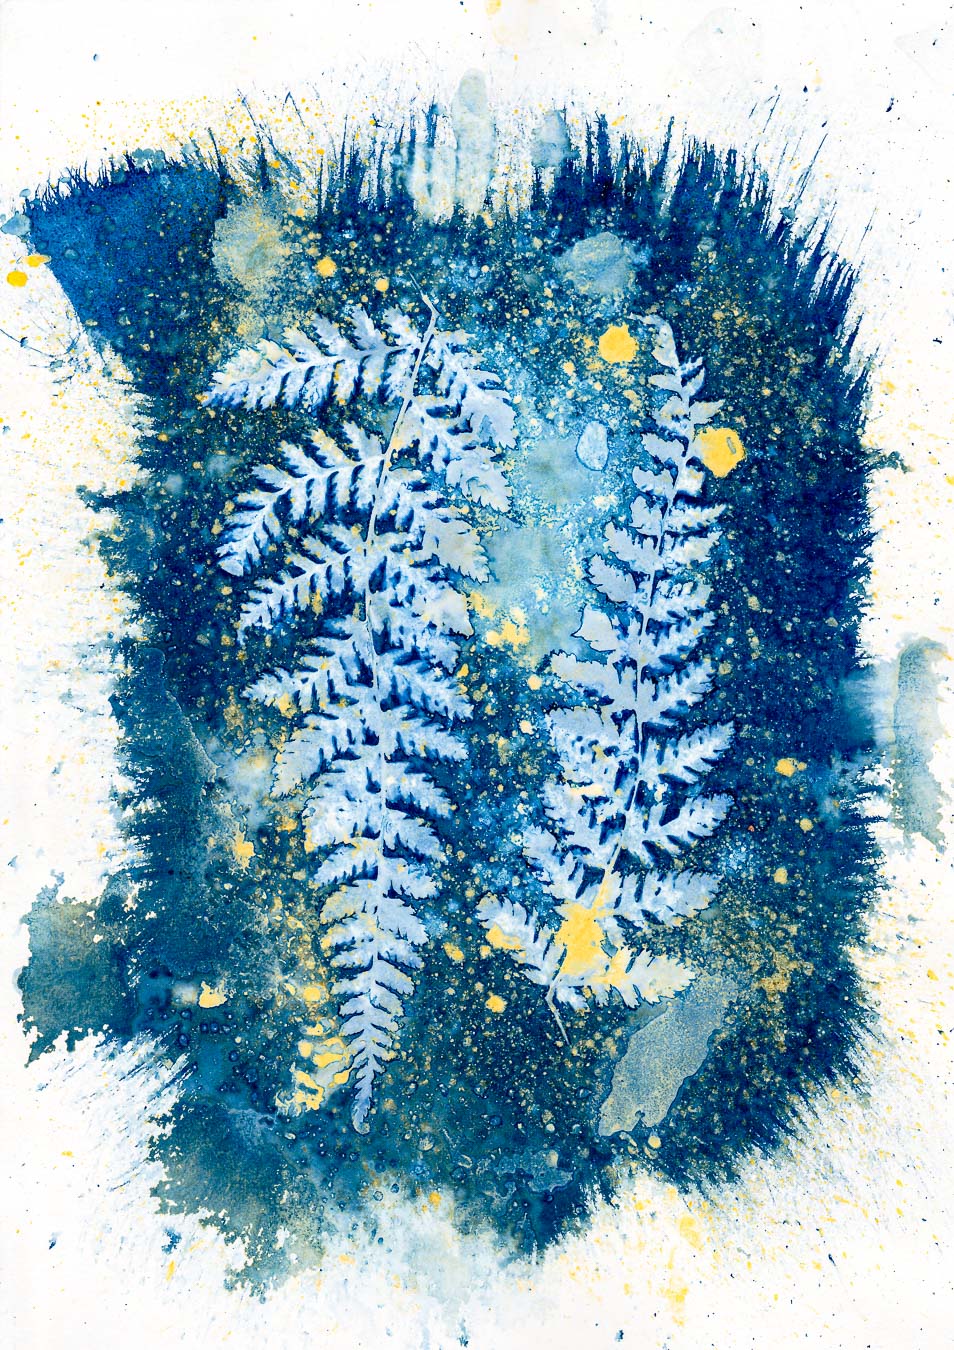
2. Paint the mixture onto the paper using a brush. I generally cover the whole sheet evenly or you can just paint over the middle part of the paper leaving a ragged edge of brush strokes and a white border for a more arty hand-crafted type look. Some people then leave the paper to dry overnight in a dark place. However, I proceed directly on to the next stage while the paper is still damp.


3. Unless the composition is extremely simple, such as a single leaf, I like to place the materials I am going to use on a separate piece of plain A4 paper first until I get an arrangement I am happy with. I then transfer the items carefully one by one onto the sensitised piece of paper.
4. Next comes the fun bit of adding soap bubbles, vinegar etc to the paper. For the bubbles, there are a couple of ways to do this. One is to prepare a tray of soapy water and place the paper sensitized side down in the bubbles and then lift it out. Hopefully it will now be covered with a uniform coating of bubbles, however this is rarely the case and some manual redistribution will be required. The objects can then be placed on the soapy paper. Another way is to coat the glass sheet that will be placed on top of everything with the soap bubbles before putting that in place. Or you could do a bit of both. Whatever method is used, I spray the bubbles with a few squirts of neat distilled white vinegar from a garden spray bottle. This appears to generate the nice orangey brown tones which appear in the final print.
5. Other things can also be added at this stage. Turmeric is a popular option and leaves a bright yellow mark on the print. I tend to use this sparingly if at all, as it can overpower the final image. I make it into a paste with a little water and then drip or spray it onto the paper using an old toothbrush. Salt sprinkled over the surface of the paper at random can also give a nice effect.
6. When all the materials have been added, cover with a sheet of glass (or clingfilm), place clamps round the edge of the frame and place in the sun to cook. I generally expose for at least 2 hours on a clear sunny day, maybe twice that if it’s cloudy. This is another area for experiment; I once made a test strip, gradually uncovering the paper a few centimetres at a time to give a range of exposure times. I found the final image got darker up to about 2 hours of exposure and times above that made little difference. Longer exposure times allow more UV to penetrate the objects covering the paper and so give more detail of the structure of a leaf for example. Shorter exposure times tend to produce a plain white silhouette of the object. If in doubt, overexpose. Some people leave cyanotypes exposing for many hours to great effect.
7. Once you have decided the exposure is finished, remove the glass sheet and the flowers, leaves etc from the paper and place it in a tray containing cold water for 5-10 minutes, agitating frequently. If I have used turmeric, I find this tends to stick to the paper and I have to gently brush it off during the wash.
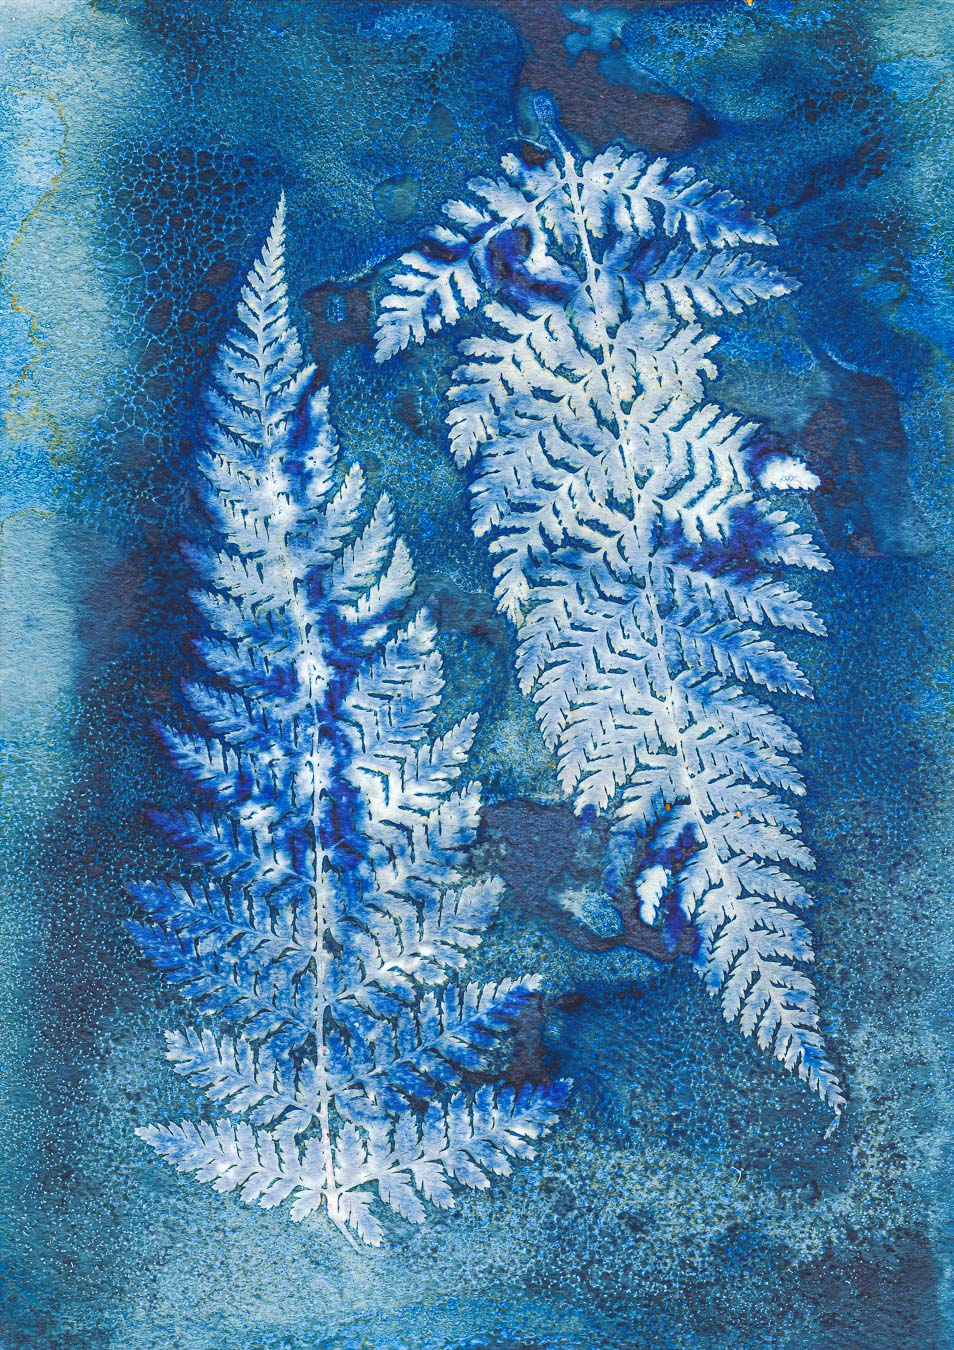
8. After the wash, I place the paper flat on the ground and photograph it from above to make a record of the colours and tones of the image at this stage of the process. These are usually quite different from the final result once the paper has dried and been exposed to the air for 24 hours, as the colour of the print will become a deeper blue over time as the chemicals oxidise.
9. After washing, the print can be left to dry and will attain its final colour after about 24 hours. Alternatively, the oxidation process can be speeded up by soaking the print in a bath of dilute hydrogen peroxide for 1-2 minutes. I use 5ml of 3% hydrogen peroxide in 1 litre of water. The print will quickly develop the characteristic deep prussian blue colour after which it should be washed again in cold water and left to dry.
10. Once dry and fully oxidised, I scan the print and import the image into Adobe Lightroom where I can make final adjustments to bring out the colours, contrasts and tones in the image. I have also begun to process in Lightroom the image taken immediately after the wash stage, as sometimes I may prefer the colours and contrasts as they were at that stage.
So why not have a try? I have described my process for making prints on watercolour paper but many other surfaces can also be used including various fabrics, stone, glass, wood, leaves and even eggshells. If you don’t like the typical cyanotype blue of the finished print, you can bleach it and tone it with various types of tea or coffee for a more muted look. And that’s before you get started on contact printing photographic negatives printed out on to acrylic sheets.
For further information, the website Alternative Photography is excellent.
Finally, for anyone who wants the ultimate in detail about the history, chemistry and practice of making cyanotypes. I recommend Mike Ware’s website, especially his exhaustive document Cyanomicon in the downloads section.
You can view a selection of my Cyanotype images here.
April 15, 2024 @ 3:24 pm
Hi,
Thank you for sharing the proces. My cyanotypes always turn blue. I especially love the colours you get in ‘Two ferns’ and ‘Bleached bluebells’. Which magic did you use there?
When you use salt NaCl (kitchen salt?) do you dissolve this (g/l) or sprinkle it over the paper?
April 20, 2024 @ 10:45 am
Thanks for your enquiry about my website and apologies for the delayed reply but I have just returned from holiday. Regarding the use of salt, it is not dissolved in water but sprinkled directly onto the paper.
The two cyanotypes you mentioned in particular were produced in different ways. Two Ferns as I recall is an image that was made by photographing the print immediately after the wash, when the colours are different to the classic cyanotype blue that appears later.
Bleached Bluebells as the title suggests was made by bleaching the print in dilute household bleach for 30-60 seconds or until you get the effect you’re looking for. Wash immediately in water to stop the process. This removes the blue colour, but don’t leave it too long or the image may disappear completely! I don’t remember the exact dilution but try 5ml bleach in 1 litre of water and see what happens. Maybe photograph the print first so you have a copy of the original in case anything goes wrong.
If you don’t like the classic blue colour this can be changed by bleaching and then toning the print in a variety of solutions such as tea, coffee or any number of other substances depending on the tone you would like. There is a wealth of information on alternativephotography.com or search the web for “toning cyanotypes”.
December 10, 2023 @ 2:02 am
A VERY, VERY important health note! In the Christopher James Book on Alternative Photography ( 3rd Edition)
https://sites.evergreen.edu/expphoto/wp-content/uploads/sites/293/2015/05/JamesCyanotypeProcessSm.pdf
He states on page 108, ” Potassium ferricyanide is not particularly toxic because the cyanide group is bound to the iron atom and is not free to behave as a poison. The cyanide part of this chemical can, however, be released as a hydrogen cyanide gas if it is subjected to a strong acid, so be diligent about avoiding acid contact.
I will not be spraying my Cyanotypes with vinegar!
P.S. Alan, the Cyanotypes in this article are lovely! I just wanted to let you know that my reply is solely meant to pass along important information I came across.
December 12, 2023 @ 11:11 am
Hi Scott, thanks for your comment and for drawing this to my attention. In practice, there is no need to use STRONG acids in the cyanotype process so this issue should not arise. There should be no problem using a very weak acid such as vinegar; in fact the same book you quote goes on to recommend the use of vinegar to develop and wash cyanotypes at the end of the process.
October 4, 2023 @ 9:04 am
thankyou for sharing such a great guide, brilliant. Can i ask what lights can be used if you have no sunlight, like in the winter? I have so enjoyed reading such a great sharing site, thank you sonja
October 4, 2023 @ 4:39 pm
Hi Sonja, thanks for your kind comments. Although I have never done it, you can use a lamp fitted with a special bulb that emits UV light. Here is one example:
https://cyanotype.co.uk/product/uv-lamp-for-alternative-photography.
August 10, 2023 @ 9:25 am
Thank you very much for sharing your process, inspiring article and generous act. I’m starting to experiment with wet cyanotypes but, after reading your article, I realized that I should expose them to light much longer than I do. I’ll try it!
August 11, 2023 @ 7:53 am
Thanks Cristina. You’re right, you can’t really overexpose a wet cyanotype. Have fun!
September 5, 2022 @ 9:39 am
Hi. I have just received a cyanotype kit to try out after a long time of not doing this. In the kit are two bottles of liquid chemicals…instructions are a bit vague. It tells me to mix the chemicals together at 1:1. Now, i’m assuming I need to measure, say 10ml of one with 10ml of the other, as a ball park figure, not with water again. I am looking at coating around 5 sheets A4 watercolour paper or similar. Thanks, Steve.
September 5, 2022 @ 11:45 am
Hi Steve, thanks for getting in touch. Yes, you are correct, if the chemicals come ready made up as liquids you just need to mix equal volumes together to make your final solution for coating the paper. I normally coat 1 sheet of A4 at a time and find that 1ml of each solution mixed together is enough to coat 1 sheet of paper. So if you want to coat a batch of 5 sheets of A4, 5mls of each solution mixed together should be enough as long as you are not too generous when coating the first few sheets. Best of luck!
September 19, 2021 @ 10:23 pm
Thank you for an inspiring guide full of new techniques to try out. I keep facing the same issue though and wonder if you can help: I bought the same chemicals as you show here, but every image is a shade of pale blue, even when I expose it for a whole day. Could it be that the chemical mix isn’t quite right? Is it worth me buying some more? I love the technique but want to get non-washed out images!
September 21, 2021 @ 9:36 am
Hi Sarah, thanks for your kind comments on the blog. Regarding your question about washed out images, I wonder if you are using too much soapy bubbles which is washing the chemistry off the paper before exposure? I know that happened to me once. Another possibility is the paper you are using, though as long as it is artists watercolour paper that should be OK. As a first step, I would try using less soap/liquid or even just a straight non-wet cyanotype and see what happens. Good luck!
June 21, 2020 @ 9:46 pm
Hi Alan
Thank you so much for this very informative article on how you make your beautiful cyanotypes. One thing I’m not clear about is how much of this you need to do in the dark, before exposing it to light. Could you clarify this at all? Many thanks.
June 22, 2020 @ 4:40 pm
Hi Jo, many thanks for your kind comment. Regarding your question, the solution becomes sensitive to UV light once the two chemicals are mixed. So mixing the chemicals and brushing the solution onto the paper should be done in a shaded area out of direct sunlight. However, it does not need to be completely dark, as you still need to see what you are doing. Any coated paper you are not going to use immediately should be stored in a dark place until needed. It will be usable for at least a few days, if not longer. Let me know if you have any more questions, I’d be happy to help if I can. Good luck!